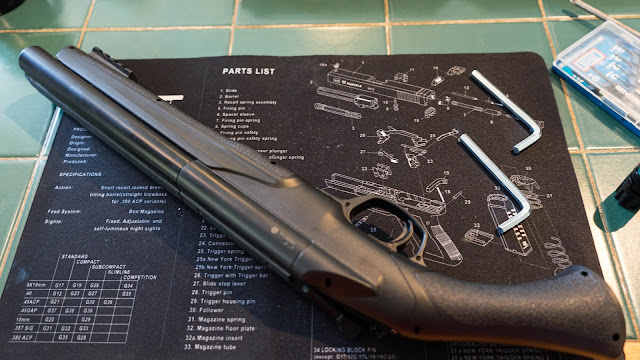
Further Tuning on an Umarex HDS.68 Home Defense Shotgun.
Tuning an Umarex HDS.68
So you have already removed the restriction in the gas chamber, fitted the Powerkit68 and removed the brass top hat that sits in front of the brass gas tube. And you want more power?
Well my example of the gun was coming in very under powered before the mods and, although a massive improvement after, I still wasn't getting the power that some other people have been getting.
I didn't film this work but I did take pictures throughout the procedure. Hopefully this will be just as good an information source as one of my videos.
I'm assuming you have already taken the gun apart before so you will know how to do that. The internal mechanism will have to be stripped down.
We are going to remove the barrel assembly from the gun which is quite straight forward, just make a note of where everything goes. It is a good idea to take pictures at this point to remind yourself of how it goes back together.
Remove the screw from the barrel catch and you should now be able to slide out the end of the barrel cover along with the two barrels.
Take off the rubberized plastic end cap and you will be left with two barrels. I'm not sure if they can go back in either way, so just make a note of the way they came out.
The aim of this first modification is to close the gap between the barrel and the barrel selector port. This is a common area that the CO2 leaks out when you fire a shot. There are a couple of things we need to do here. One is to either use O rings on the end of the barrel where there is a step or, as I am using, some electrical tape. When you put the barrel cover on, the O rings or tape will hold the cover further out so it will make a better seal.
You will also have to modify the pin on the barrel catch so that when you re assemble, the pin will fit into the gun and you can put the screw in.
And then, last but not least. Where the barrel goes into the body at the front of the gun the pivot point, it is fairly weak and the extra pressure you are putting onto the barrel will cause it to break. This you can reinforce with either epoxy resin or possibly hot glue. Epoxy would be the stronger option.
For the end of the barrels I just used electrical tape. You can see where the tape goes over the shoulder, which is enough to push the barrel bushing further out to make a better seal on the metal transfer port.
The extra tape on the side of the barrel still fits up the inside of the gun. O rings might be a better option but I don't have any at the moment.
Not the best picture, but it is the pin that holds the barrel bushing into the gun, you will need to file or possibly bend the pin. I preferred to file it down a little bit at a time, seeing if it would fit before taking too much off.
Once you have made changes to the barrel you are going to need to strengthen the body where the barrel pivots. Some have used hot glue, which can remain flexible even when it has cured. I opted for some epoxy resin and filled the space around the hole. Make sure not to fill the screw holes or the two slots that the piccatiny rail fits into to.
You can now start to re-assemble the gun.
Other mods I have done while it has been apart this time are to polish the transfer port, being careful not to damage the sealing lip around the outside edge.
Before
After
I also had a problem with the selector, the little door was very stiff in operation and I think that maybe the door wasn't sealing the chamber properly. I used the Dremel to just take the surface off the top and bottom of the door, being careful not to damage the sealing surface. It is now smooth in operation and has a definite click when selecting the barrels.
This is the chamber where you would have removed the block from (7.5 joule version). I had ground down the tabs inside before, but I was lacking confidence the first time as I didn't want to damage the threads. This time I set to with the Dremel and ground it totally smooth and the threads were untouched.
Now to put it back together. I don't have any grease so I assembled it using Vaseline on the contacting surfaces.
When I get to this stage I normally install a CO2 cartridge and make sure there are no leaks from any of the seals.
And then it was through to test on the Chronograph, the results were quite impressive.
Check out the video here: https://youtu.be/g4rDSGkvSpY


Nice work on that blog. Does explain a lot and I do have a hard time moving my selector switch back and forth. I was thinking it was a lack of Grease or lubrication within. One thing I did notice about my barrels and this is a stock gun right from the factory only a week old, the barrels do not exactly line up, the Ford half of the barrels when pressed in the closed position can go down maybe a fraction of an inch more but it does not it's not even with the air chamber itself and I was wondering how to fix that. Maybe the catch can be adjusted? Don't know never took it apart don't think I will though, it's a fine piece at 16 j so for now I'll just leave it as it is until the day comes when I have to open it for a real good reason! Great videos by the way.
ReplyDelete